
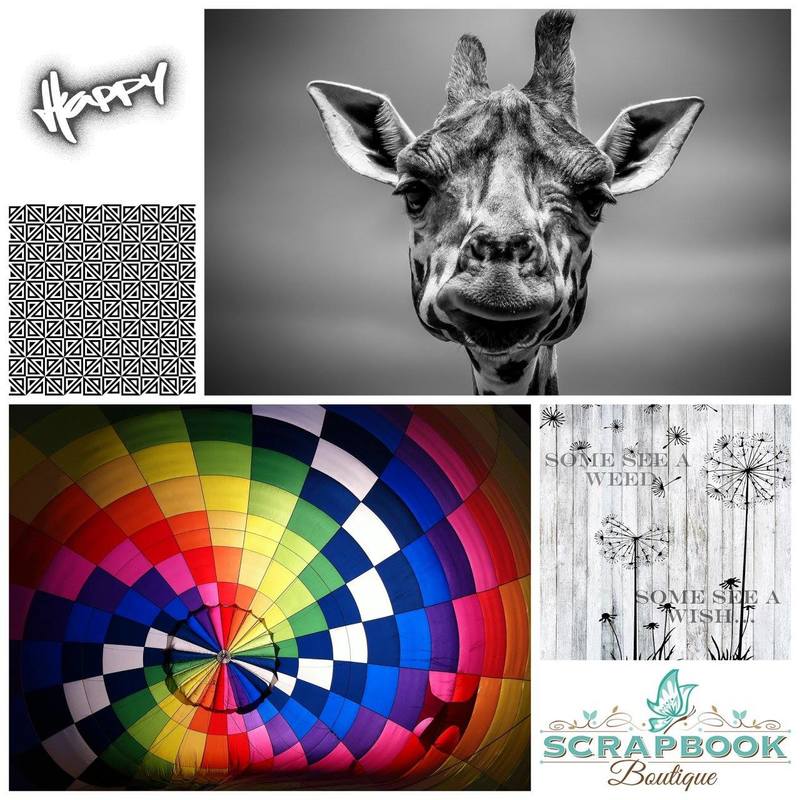
This interesting mood board is the motivation for the Scrapbook Boutique's April 2018 Blog Hop. This challenge is open to New Zealand and Australian crafters and I thought I would make a card to link...I haven't been engaging very actively lately in any challenges, but this was an interesting theme and so caught my eye.
Here is the simple card I made. I have quite a few aelurophiles in my circle of friends so I am sure it will find a home with one of them sooner rather than later...
Here is the simple card I made. I have quite a few aelurophiles in my circle of friends so I am sure it will find a home with one of them sooner rather than later...
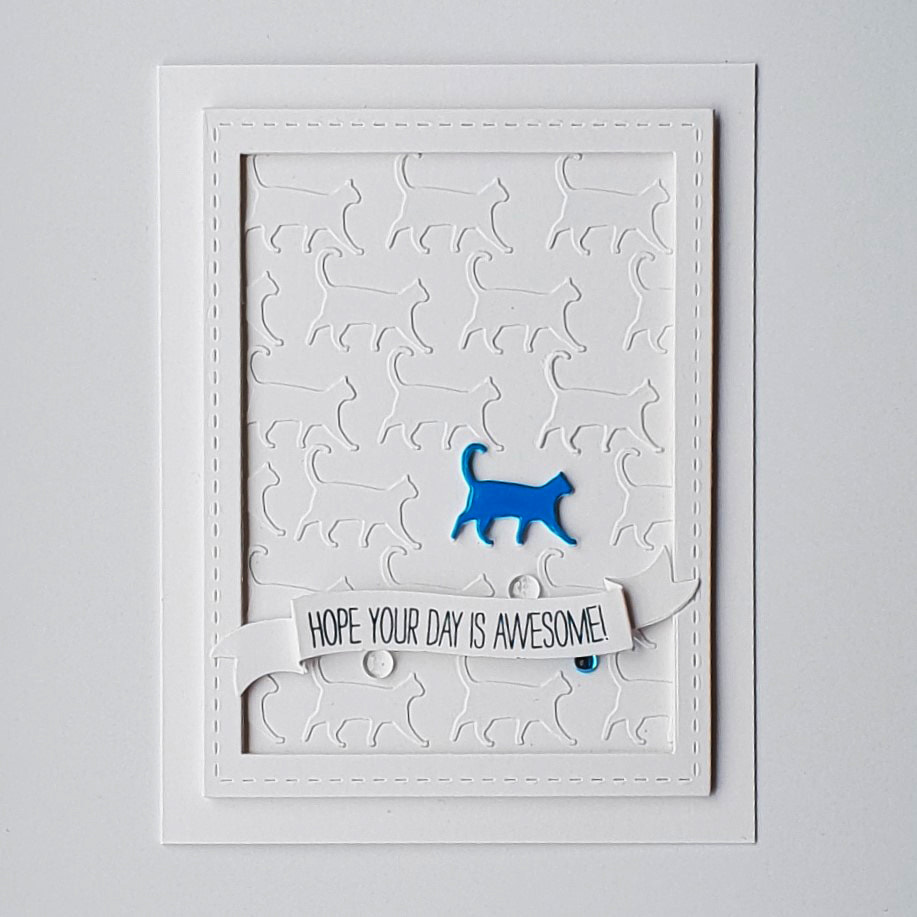
My monochromatic SBB entry for April...this photo is a tad dull and grey, but it simply reflects the weather here at the moment
I used Paper House Knight White smooth card stock for this card. The Knight White is just a little lighter than the Neenah I normally use, but is equally robust and satisfying to use for this sort of project. Also, it is available locally, an added advantage is that I no longer have the postal expense of importing the Neenah card by the ream from America.
Regarding the paper one uses, it is important to use the same card type for all componants when making an all white project. I found this out to my cost once when using my seemingly endless white scraps for a previous special project.
I had made it at night when artificial light disguised the subtle differences in the tonal quality of the various card stock pieces I had used...by the clearer light of morning I was dismayed at the mess it looked and had to remake the card completely...I have also found it can be quite dangerous, in a crafty outcome sense that is, to choose matting layers by artificial light, but that is another story ;)
For this card I cut out the standard card base first, then two frames using my trusty old Lil' Inker Design stitched rectangle dies and a card front using the larger of the two dies.
I used the trimmed edges of the card to cut out about twenty five cats using my Poppystamps "Walking Cat" die, adhering these onto the card front with Multi Medium Matte. Several of the cats cats overhung the edges, but I ruthlessly took my scissors to those and trimmed them down to size.
I layered two more of the white cats together and then topped it with a third cat cut from a scrap of turquoise card. I then adhering this little stack over one of the cats already adhered onto the card front, after a bit of dithering about where I wanted to place it.
I then coated the blue cat with Glossy Accents and set it aside to cure while I assembled the little frame by adhering thin strips of Scotch double sided dimensional tape to the underside of one of the pieces.
I then adhered this over the catty front panel. This frame covered the trimmed edges of the cats and made the front panel look cohesive.
I then stamped the SSS "Tilted Banners" sentiment twice onto a piece of the card stock with my Tonic Stamp Platform, using SU Pacific Point ink as that matched the colour of the cat best. Once dry I restamped it using Versamark ink and heat set it with clear embossing powder in order to give the sentiment a shiny finish. It was then die cut using the curved banner die and the fold lines burnished.
I added the second layer to the frame and attached the sentiment banner to the edges of the frame and popping up the middle of the little banner, where it stretched across the card, with tiny pieces of the Scotch tape in a double layer.
I then added two clear and a smaller turquoise Sprinkle with MMM, tucked in around the edges of the banner and the card was finished.
Thanks for stopping by,
Dx


 RSS Feed