
Unfortunately today is Friday, the adhesive and cardstock I had ordered online has not arrived...a whole weekend to fill when I have a couple of projects (reliant on the delivery), in my head and wanting annoyingly to be commenced...that's life! A good tidy of the craft room is far less appealing but rapidly becoming a necessity...at least I will be poised for action once the orders arrive...
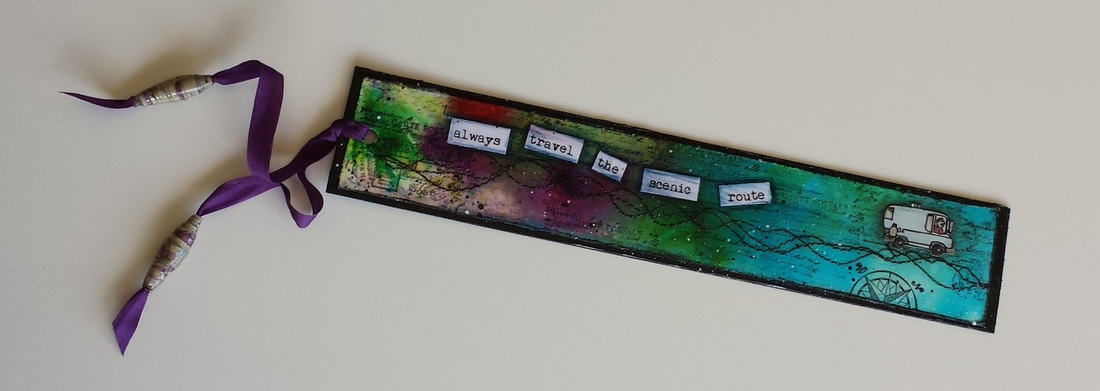
I have friends who have a most enviably peripatetic lifestyle...one I didn't really aspire to before my back injury and the resultant confinement to home...I made them a bookmark to use up some bits and pieces lying on my workbench...I try not to be a jealous friend...
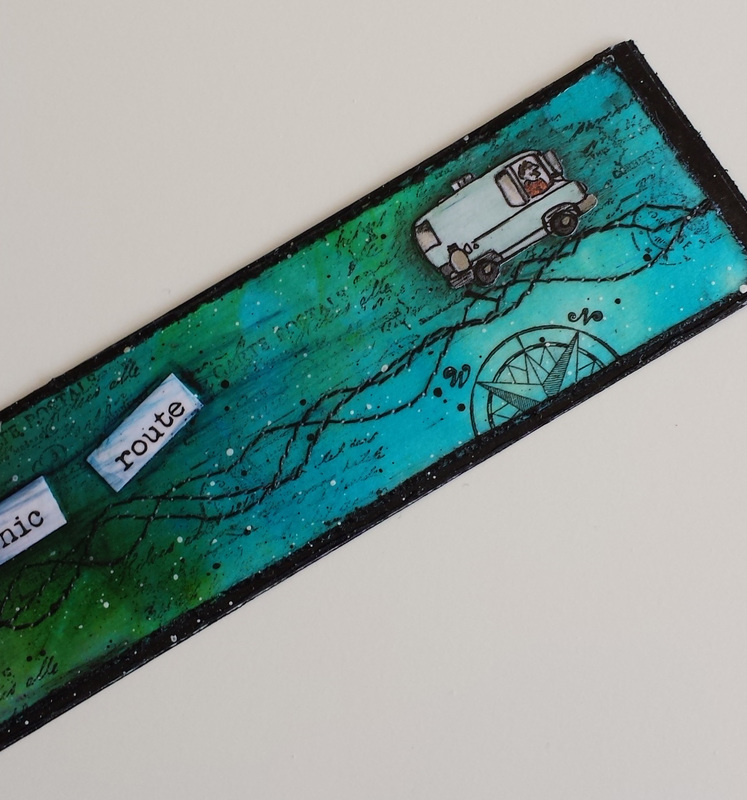
The background is Brushos and stamping, machine stitching and a little hand drawn motorhome image...I tried a combi but it was a failure...their real motor home is very splendid!
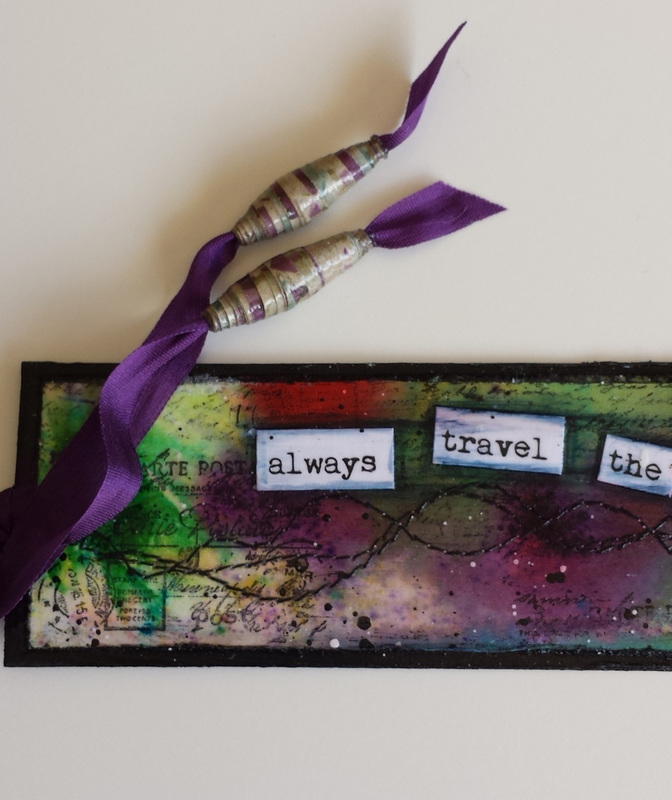
A little silk ribbon and a couple of paper beads...
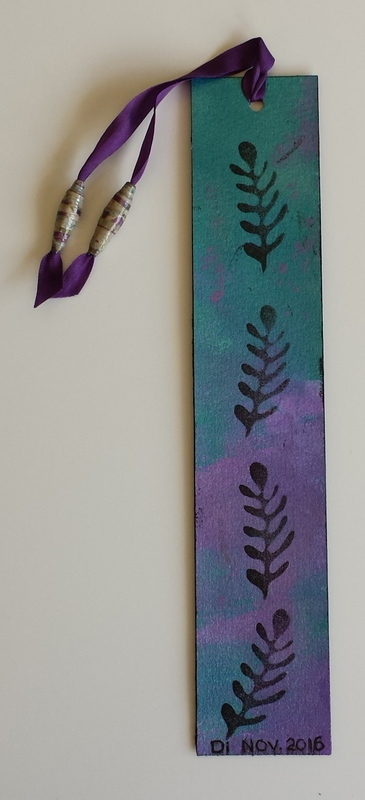
The back is coloured with metallic paints and impressions from one of my home made stamps...
It has been a quiet week, cooler weather and some rain have kept us indoors, and the Uni course is having a study week...as we were only into week four anyway, and I have certainly kept well up to the reading, a couple of hours revision was all I needed to do...
Well, I think that is all I have to talk about...a blog post about nothing really, who would have thought?
Bye now, hopefully more interesting content next time.
Di xx
Well, I think that is all I have to talk about...a blog post about nothing really, who would have thought?
Bye now, hopefully more interesting content next time.
Di xx


 RSS Feed