
There has been a couple of You Tube videos uploaded recently regarding the making of flat paper beads...particularly the linked videos by Dorte of MissmeART and Wendy Mason ...
I first saw these lovely beads on Jenniebellie's channel a couple of years ago. I did attempt to make some at that time but as I was new to paper crafting other than cards, and was going through my knee prosthesis and back injury trauma during that period...the concept just wasn't able to attract my interest or ability to concentrate for long enough to get many of these made...I have since then made a heap of other paper beads using various methods and love the outcome, so this little project, nudged appropriately by Dorte and Wendy's videos, caught my attention and prompted me to have another try...I needed something simple and pretty mindless to distract me from the travel journal I am making at the moment...this journal is being terribly recalcitrant and difficult...I need to give it some space to allow it to get it's act together and fall in with my plans for its completion! I have never before had a project that has resisted me to such lengths ;)
Moving right along...these flat beads are rather finicky and a tad time consuming to make, due to the small size and the need to allow drying time between each of the steps, so maybe not for the rushed, or those wanting instant gratification...but they do make lovely little embellishments that can be used as mobile elements, ( I can see glittery ones like Wendy's as a very pretty baby mobile or sun catcher), journal dangles, jewelry componants, anything you want. They also recycle otherwise pretty useless packaging material and can be made in steps to suit your timetable...if you are lucky enough to still have one!...
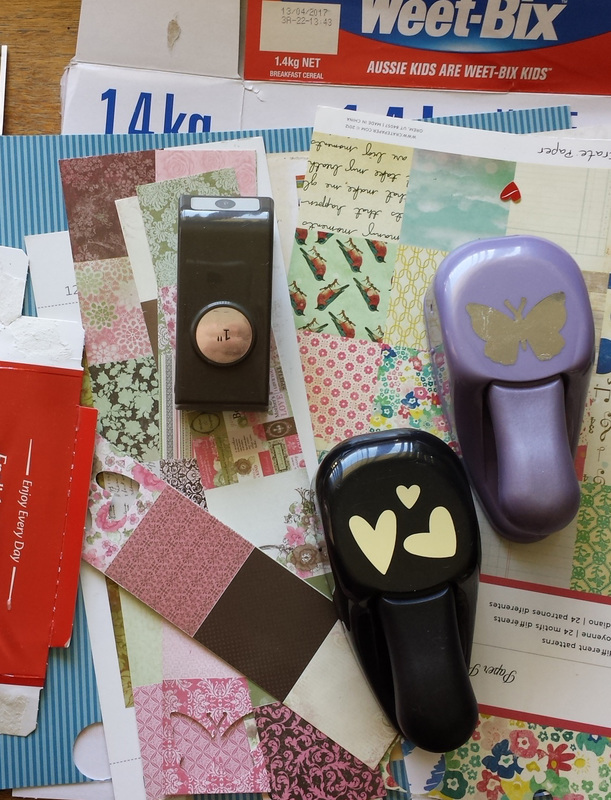
The primary items you need are a source of recycled cardstock and a punch or three...however, dies would work, or even a simple template you make yourself and a pair of scissors...
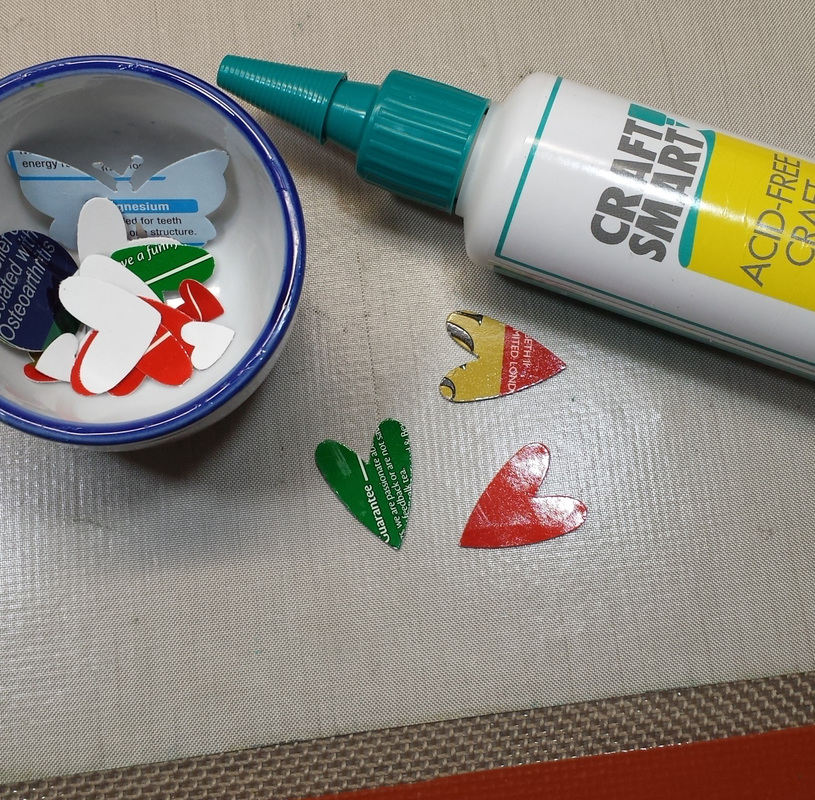
Using an adhesive...I found a tacky craft glue worked best...adhere two layers of card together in pairs taking care to align the edges as well as you can and wiping away any excess glue...this adds to the smoothness and easier finishing of the beads. I also found it best to adhere a "slick" side of the card to the cardboard side of the second layer as this helps the pieces to adhere faster and prevent the two pieces sliding away from each other...you need a minimum of three pairs to make each bead...
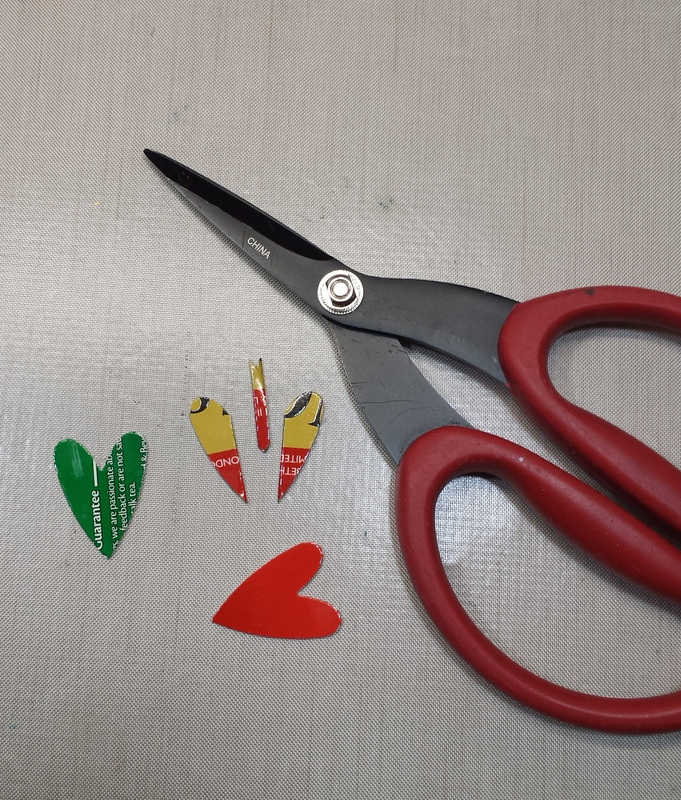
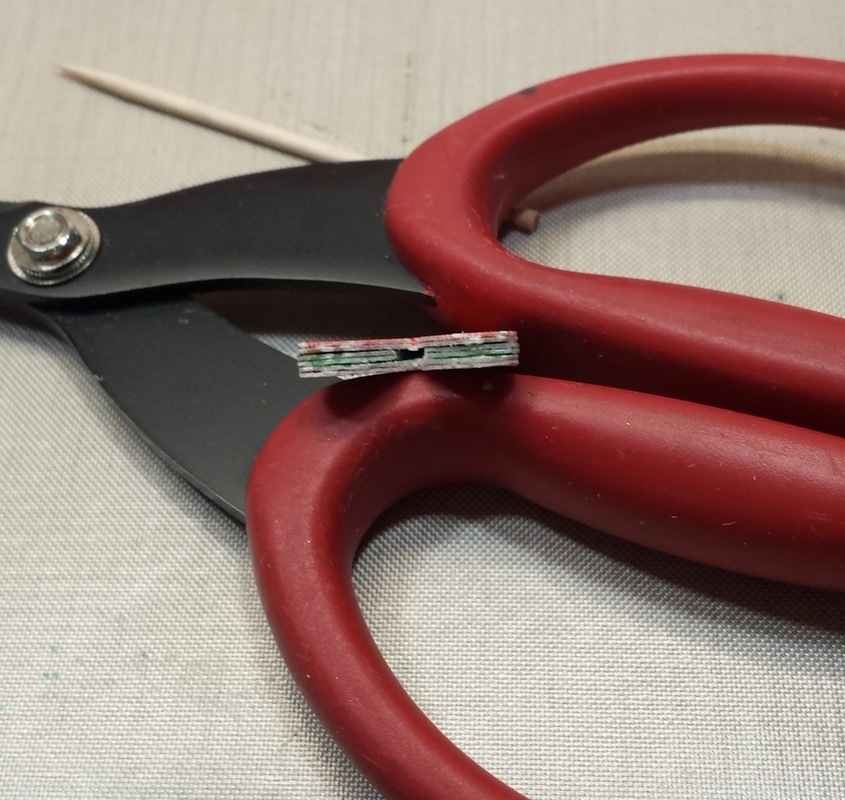
Using scissors, trim out a small segment from the centre of the piece you decide is suitable...pick the two with best colouring for the outside pieces if you don't want to add other pieces to your bead...in the photograph I intend to use the solid red piece as one side, and will cover the green layer with another layer to get the colour combination I want. The piece you cut away is discarded.
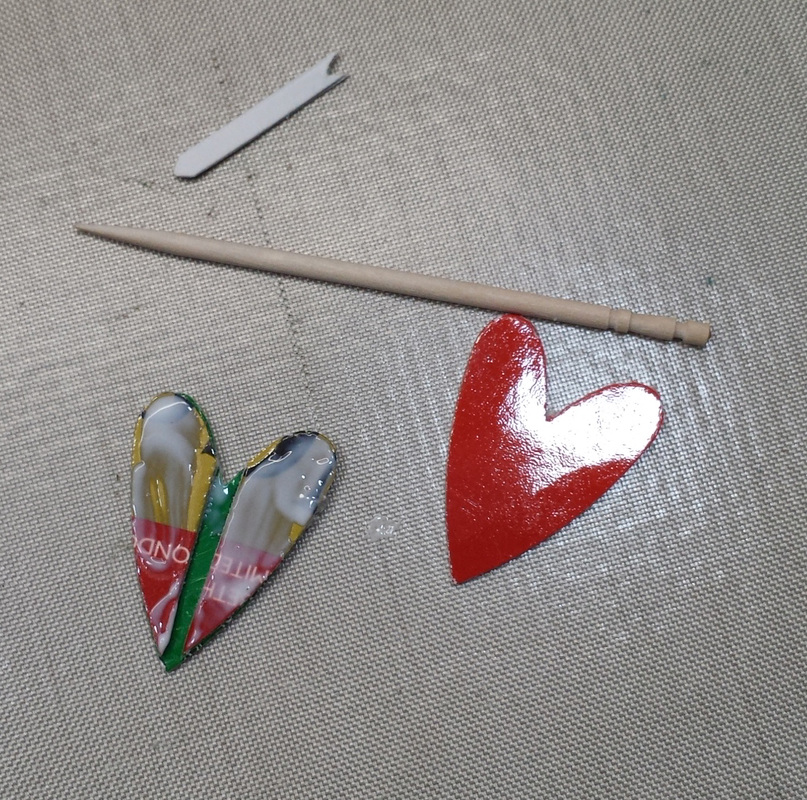
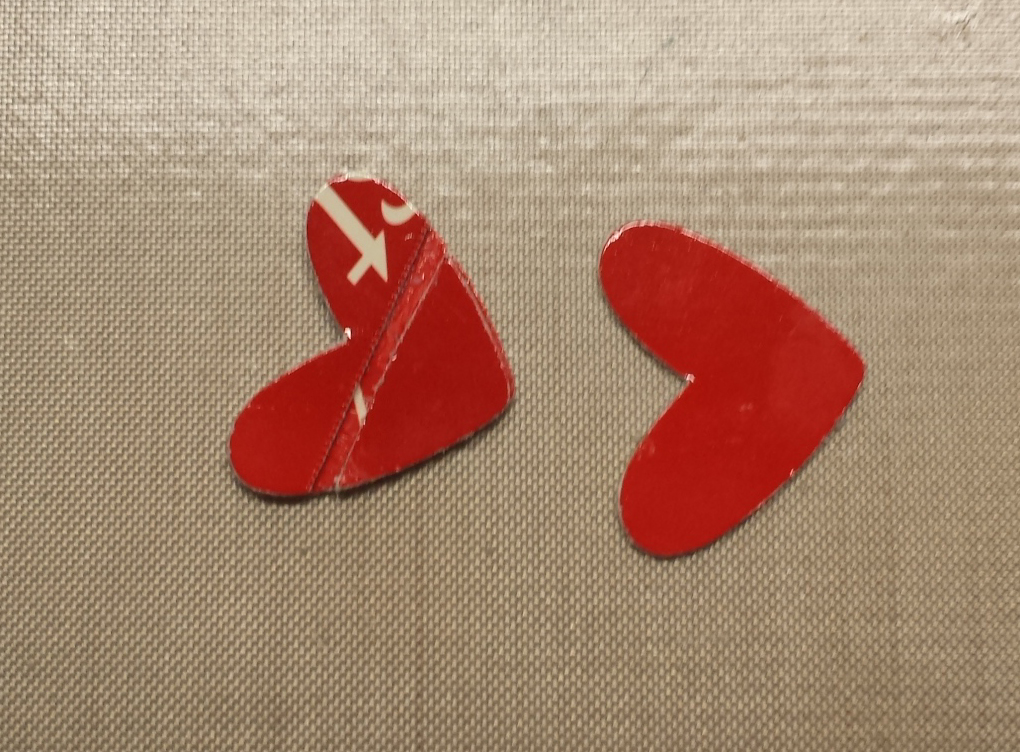
You can see I have added the two small cut apart sections to the green layer, making sure the sides are aligned...leaving a channel in the centre. I have applied adhesive to the two sections without letting too much into the tiny channel, as I don't want this blocked. A tooth pick assists with placement of the sections and also the removal of any unwanted adhesive...
The three sections are all in place and you can see the channel between the two outside layers...
You can also cut the channel across the bead in a landscape orientation...I want this one for a necklace...
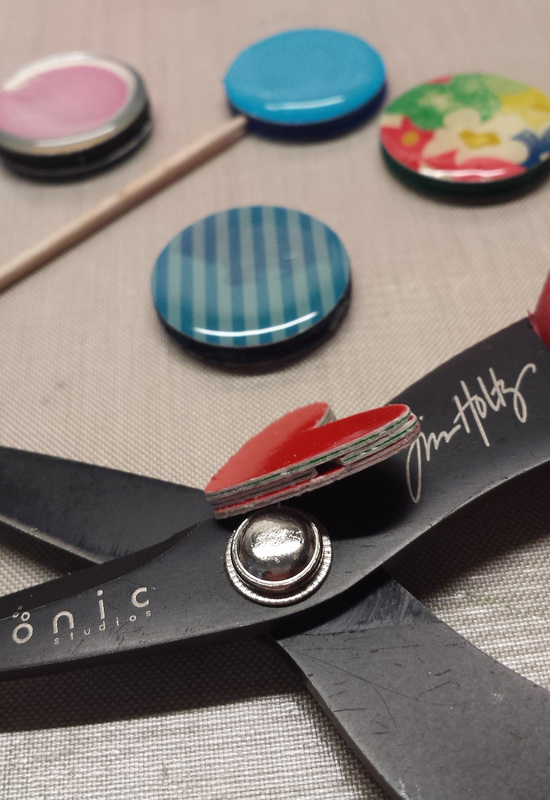
The channel runs across the bead, rather than from top to bottom...
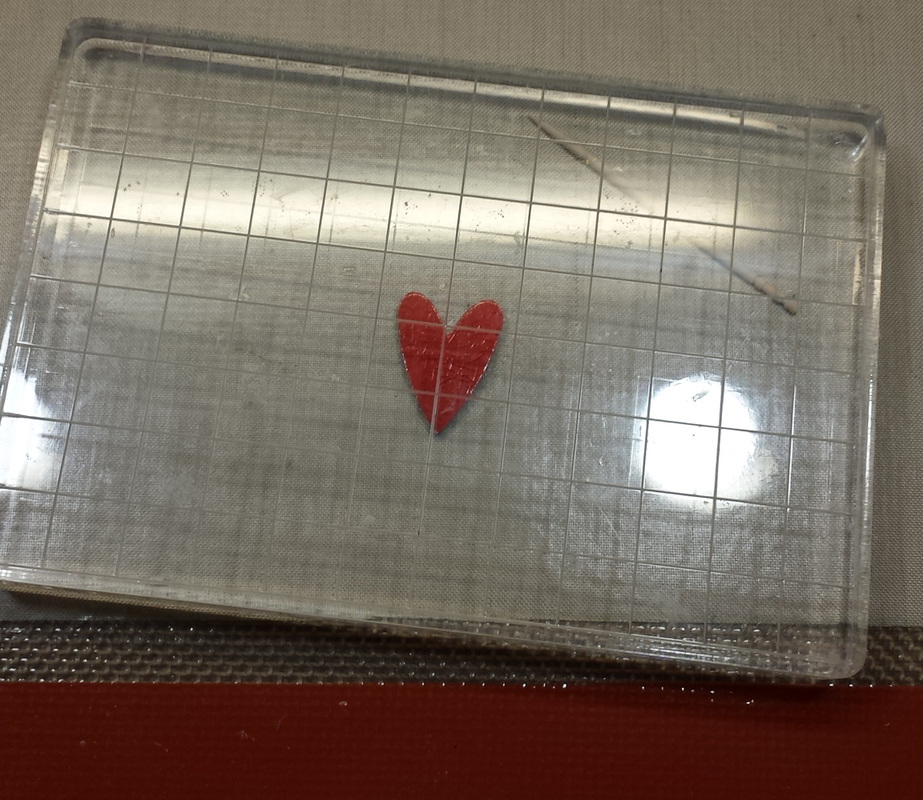
Once the bead is finger pressed for a few moments and the alignment as good as it can be, I place the bead under one of my acrylic blocks for about half an hour to ensure the layers are adhered together well.
Once the layered beads are well dried the edges need to be finished. I found a couple of mine were either slightly off with the layer edges, or had some excess glue one them. I sanded these with a very fine grit sand paper, which helped.
I then tried several ways of finishing the edges...colouring with a brush marker, distress ink and Stazon Jet Black applied with a makeup sponge. In all the videos I watched, the edges were painted with acrylic paint to finish them and I have to say that was indeed a good option, as the paint was thick and occlusive enough to smooth out the tiny irregularities and coat evenly. However, I also tried painting the edges with a small brush and a drop of Stazon Jet Black ink from the reinker bottle and for me this gave me the neatest, most occlusive finish...
Once the paint and ink was dry I went on to add the glossy finish...

These beads have been left to dry out overnight and have had their first side coated with either Glossy Accents, Crystal Effects or Dimensional Magic...they are now drying...after a further 24 hours I will coat the reverse side and the beads will be ready for action once that it dry...aren't those two greeny beads lovely? I covered them with pieces cut from the much used lining paper of my spray box...such a delicious effect...it looks like green opal!
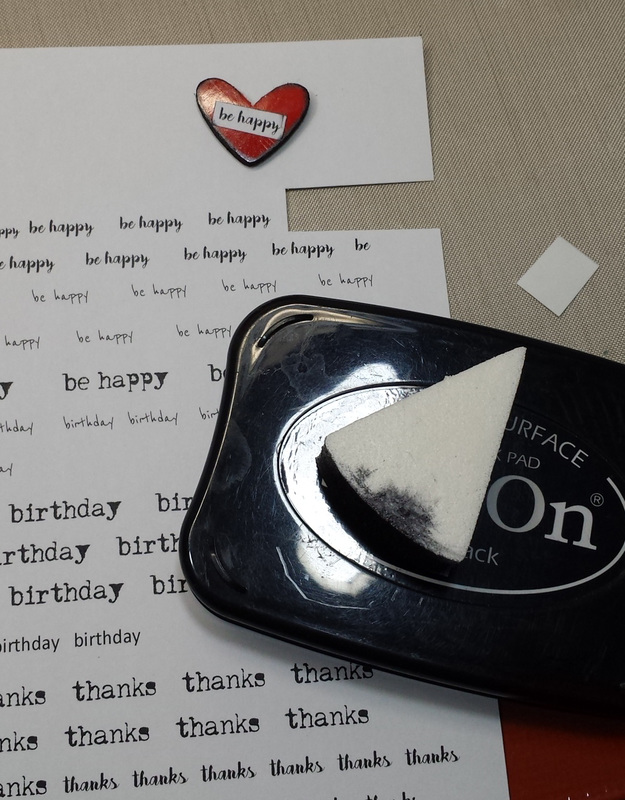
On this little bead I left the red of the Twinings Tea box, edged it on both sides with Stazon ink and added a small word cut from a small sentiment sheet I made on my computer in various font sizes and styles, printed it onto a whole page label. I simply cut a word out as I need it...
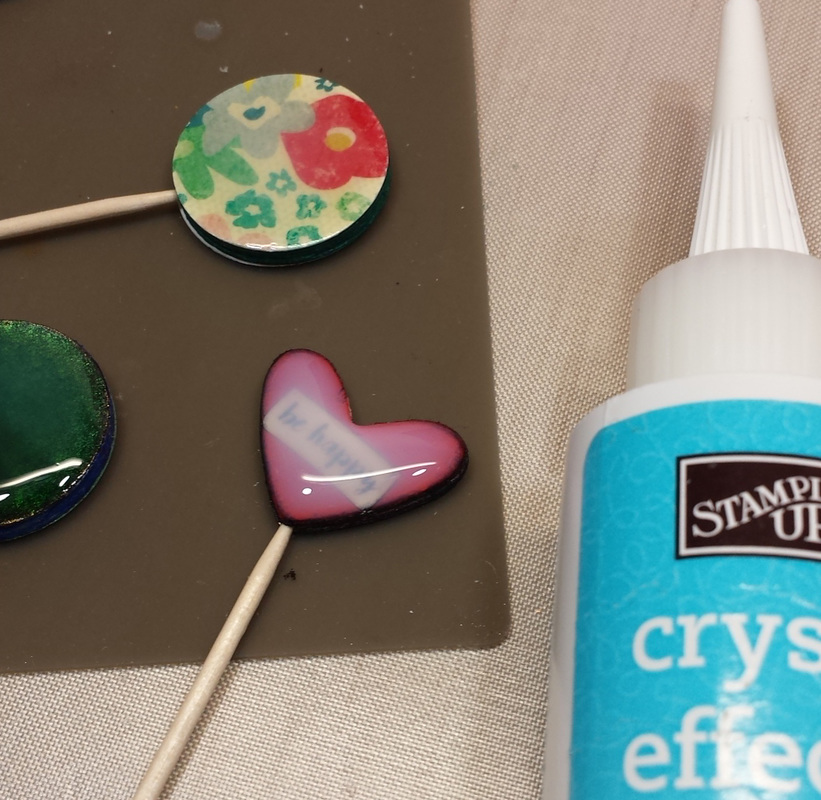
Here it is with it's coating of Crystal Effects, drying on the silicone mat. The toothpicks I have inserted into the beads are simply an aid for me to both coat the beads and to move them about as they dry. The pointy end is inserted into the bead just enough to give a hold...too much pressure from the pick would risk separating the layers of the bead
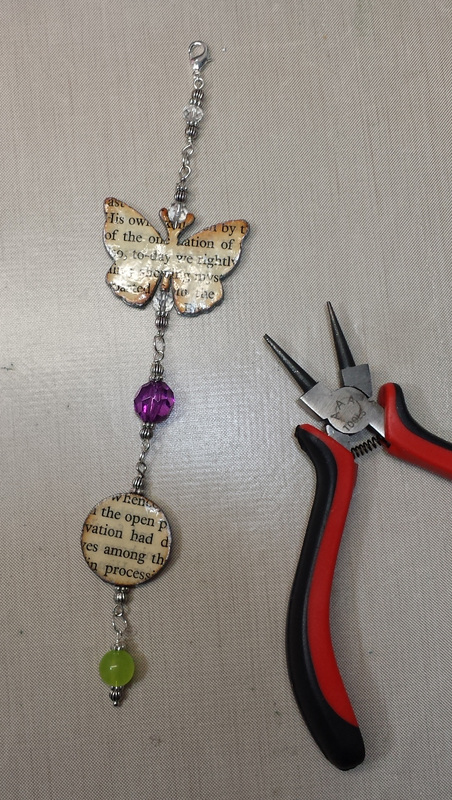
Here is my first completed project... a dangle for the spine of my "difficult" travel album...using up a few recycled beads and findings...plus some more of the book page offcuts...;) After I had assembled this I edged the beads with some metallic silver...makes a lovely difference... but in future I will edge the beads with any metallic finish I want before assembly...
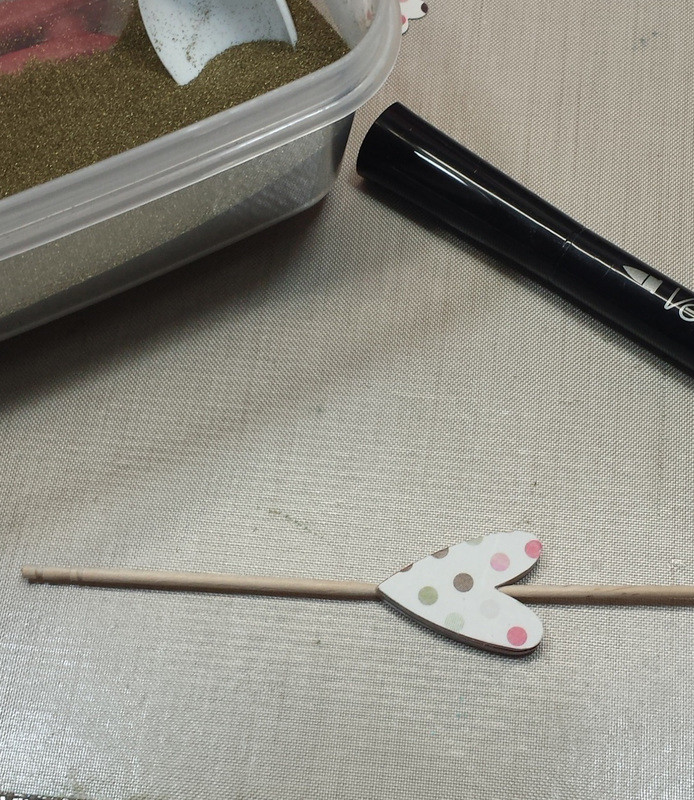
I decided to try embossing the edges of a couple of the small heart beads...adding a tooth pick gently at each end to prevent the space from getting blocked as the embossing powder melted...
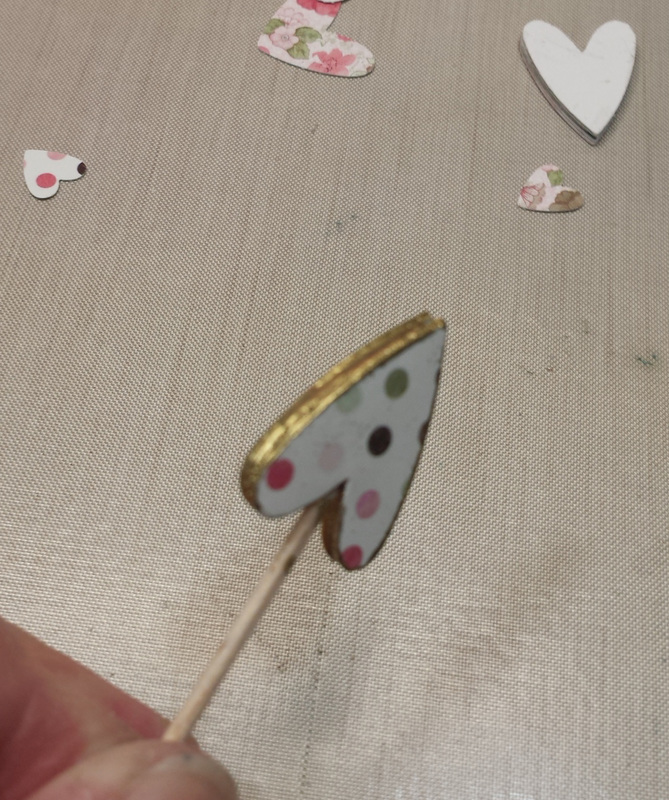
here is the gold embossed edge...
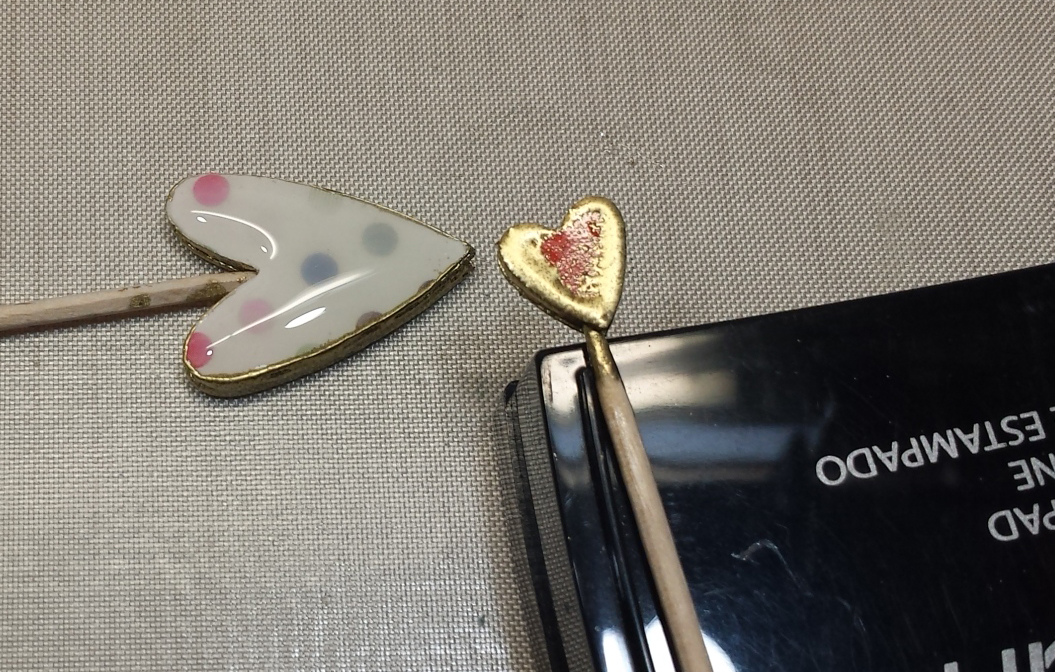
The small and tiny hearts have both had their edges embossed...the larger of the two has had a coat of Glossy Accents added...I allowed the embossing powder on the small heart to cover most of the red. This one does not need any other coating...I intend using both these on a necklace...
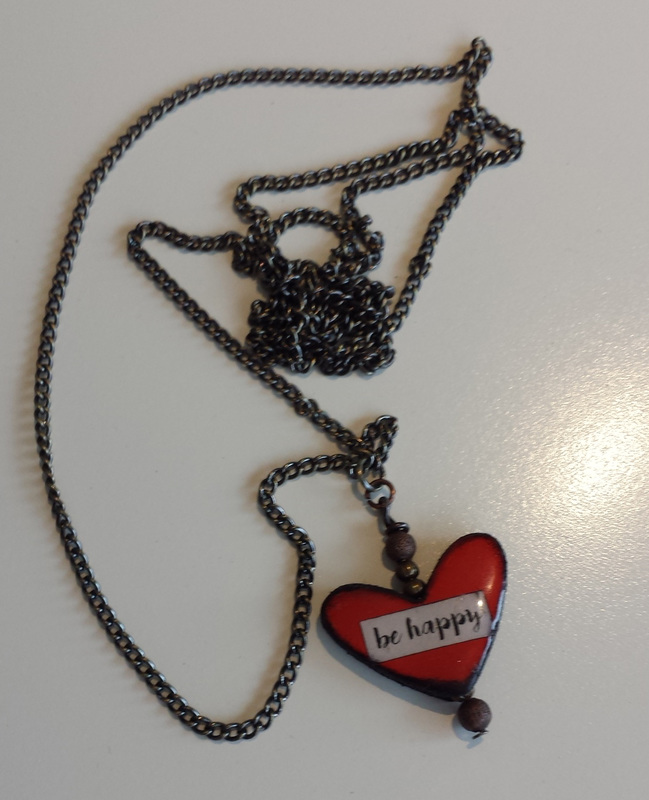 The "Be Happy" Necklace... | 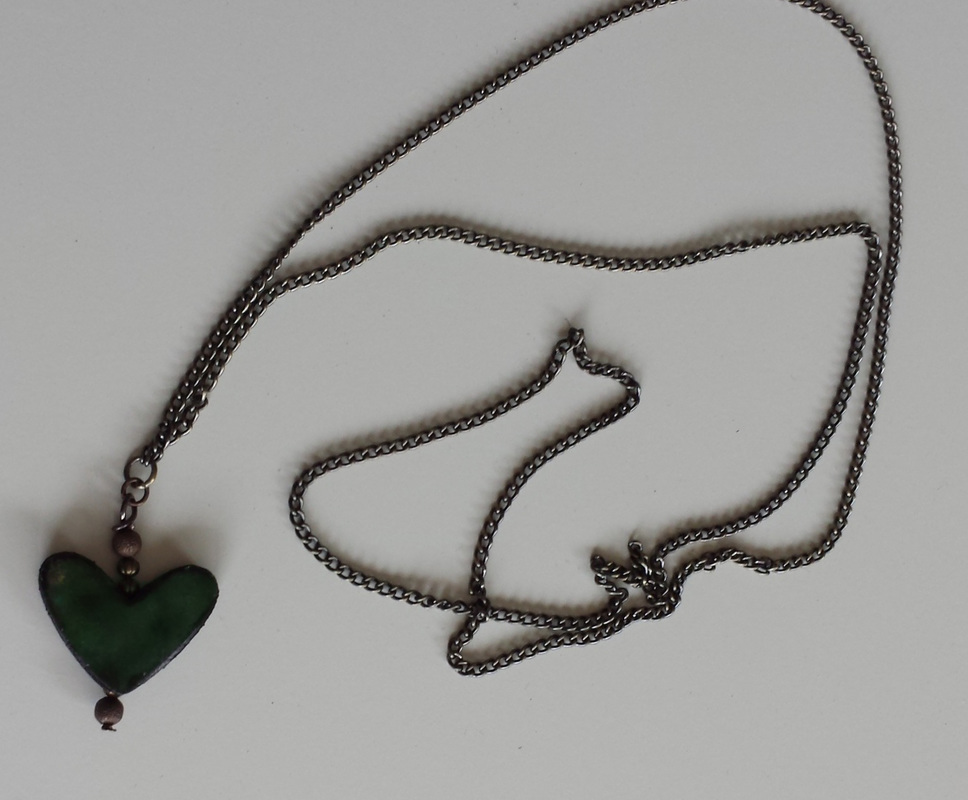 The green reverse side... |
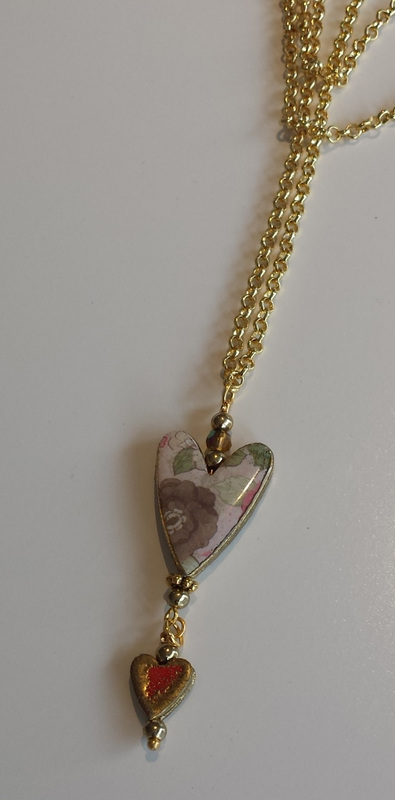 The gold embossed bead necklace... | 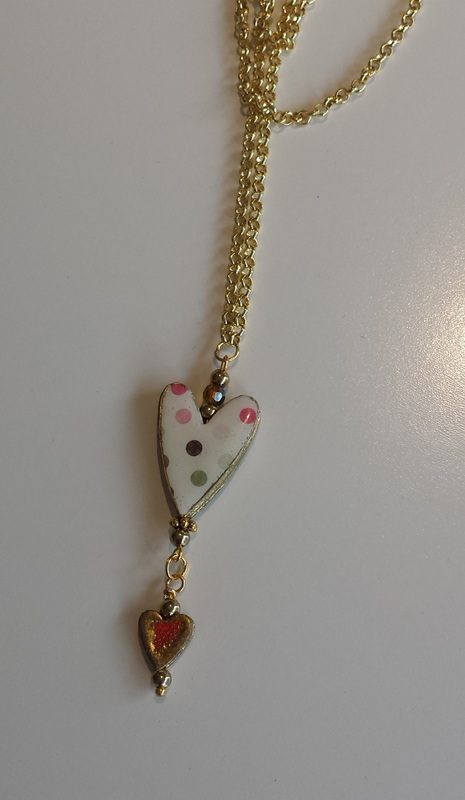 and on the reverse... |
That's all the beady fun for today...
See you soon I hope,
bye now,
Di xx
See you soon I hope,
bye now,
Di xx


 RSS Feed